Welcome to Your DIY Painting Adventure
Are you a homeowner in Fallon, NV, looking to refresh your space with a splash of color? In 2026, DIY painting has become more accessible than ever, and with the right guidance, even beginners can achieve professional-looking results. This guide is tailored for those new to painting, providing you with the essential steps to transform your home efficiently and effectively.
Why Choose DIY Painting?
Painting your home yourself offers several benefits. Not only does it save money, but it also gives you the satisfaction of enhancing your living space with your personal touch. Plus, with the latest advancements in paint technology available in 2026, there are products designed specifically for ease of use, making it a viable option for novices.
Essential Tools for DIY Painting
Before you begin, gather the necessary tools. Here's a list of essentials to have on hand:
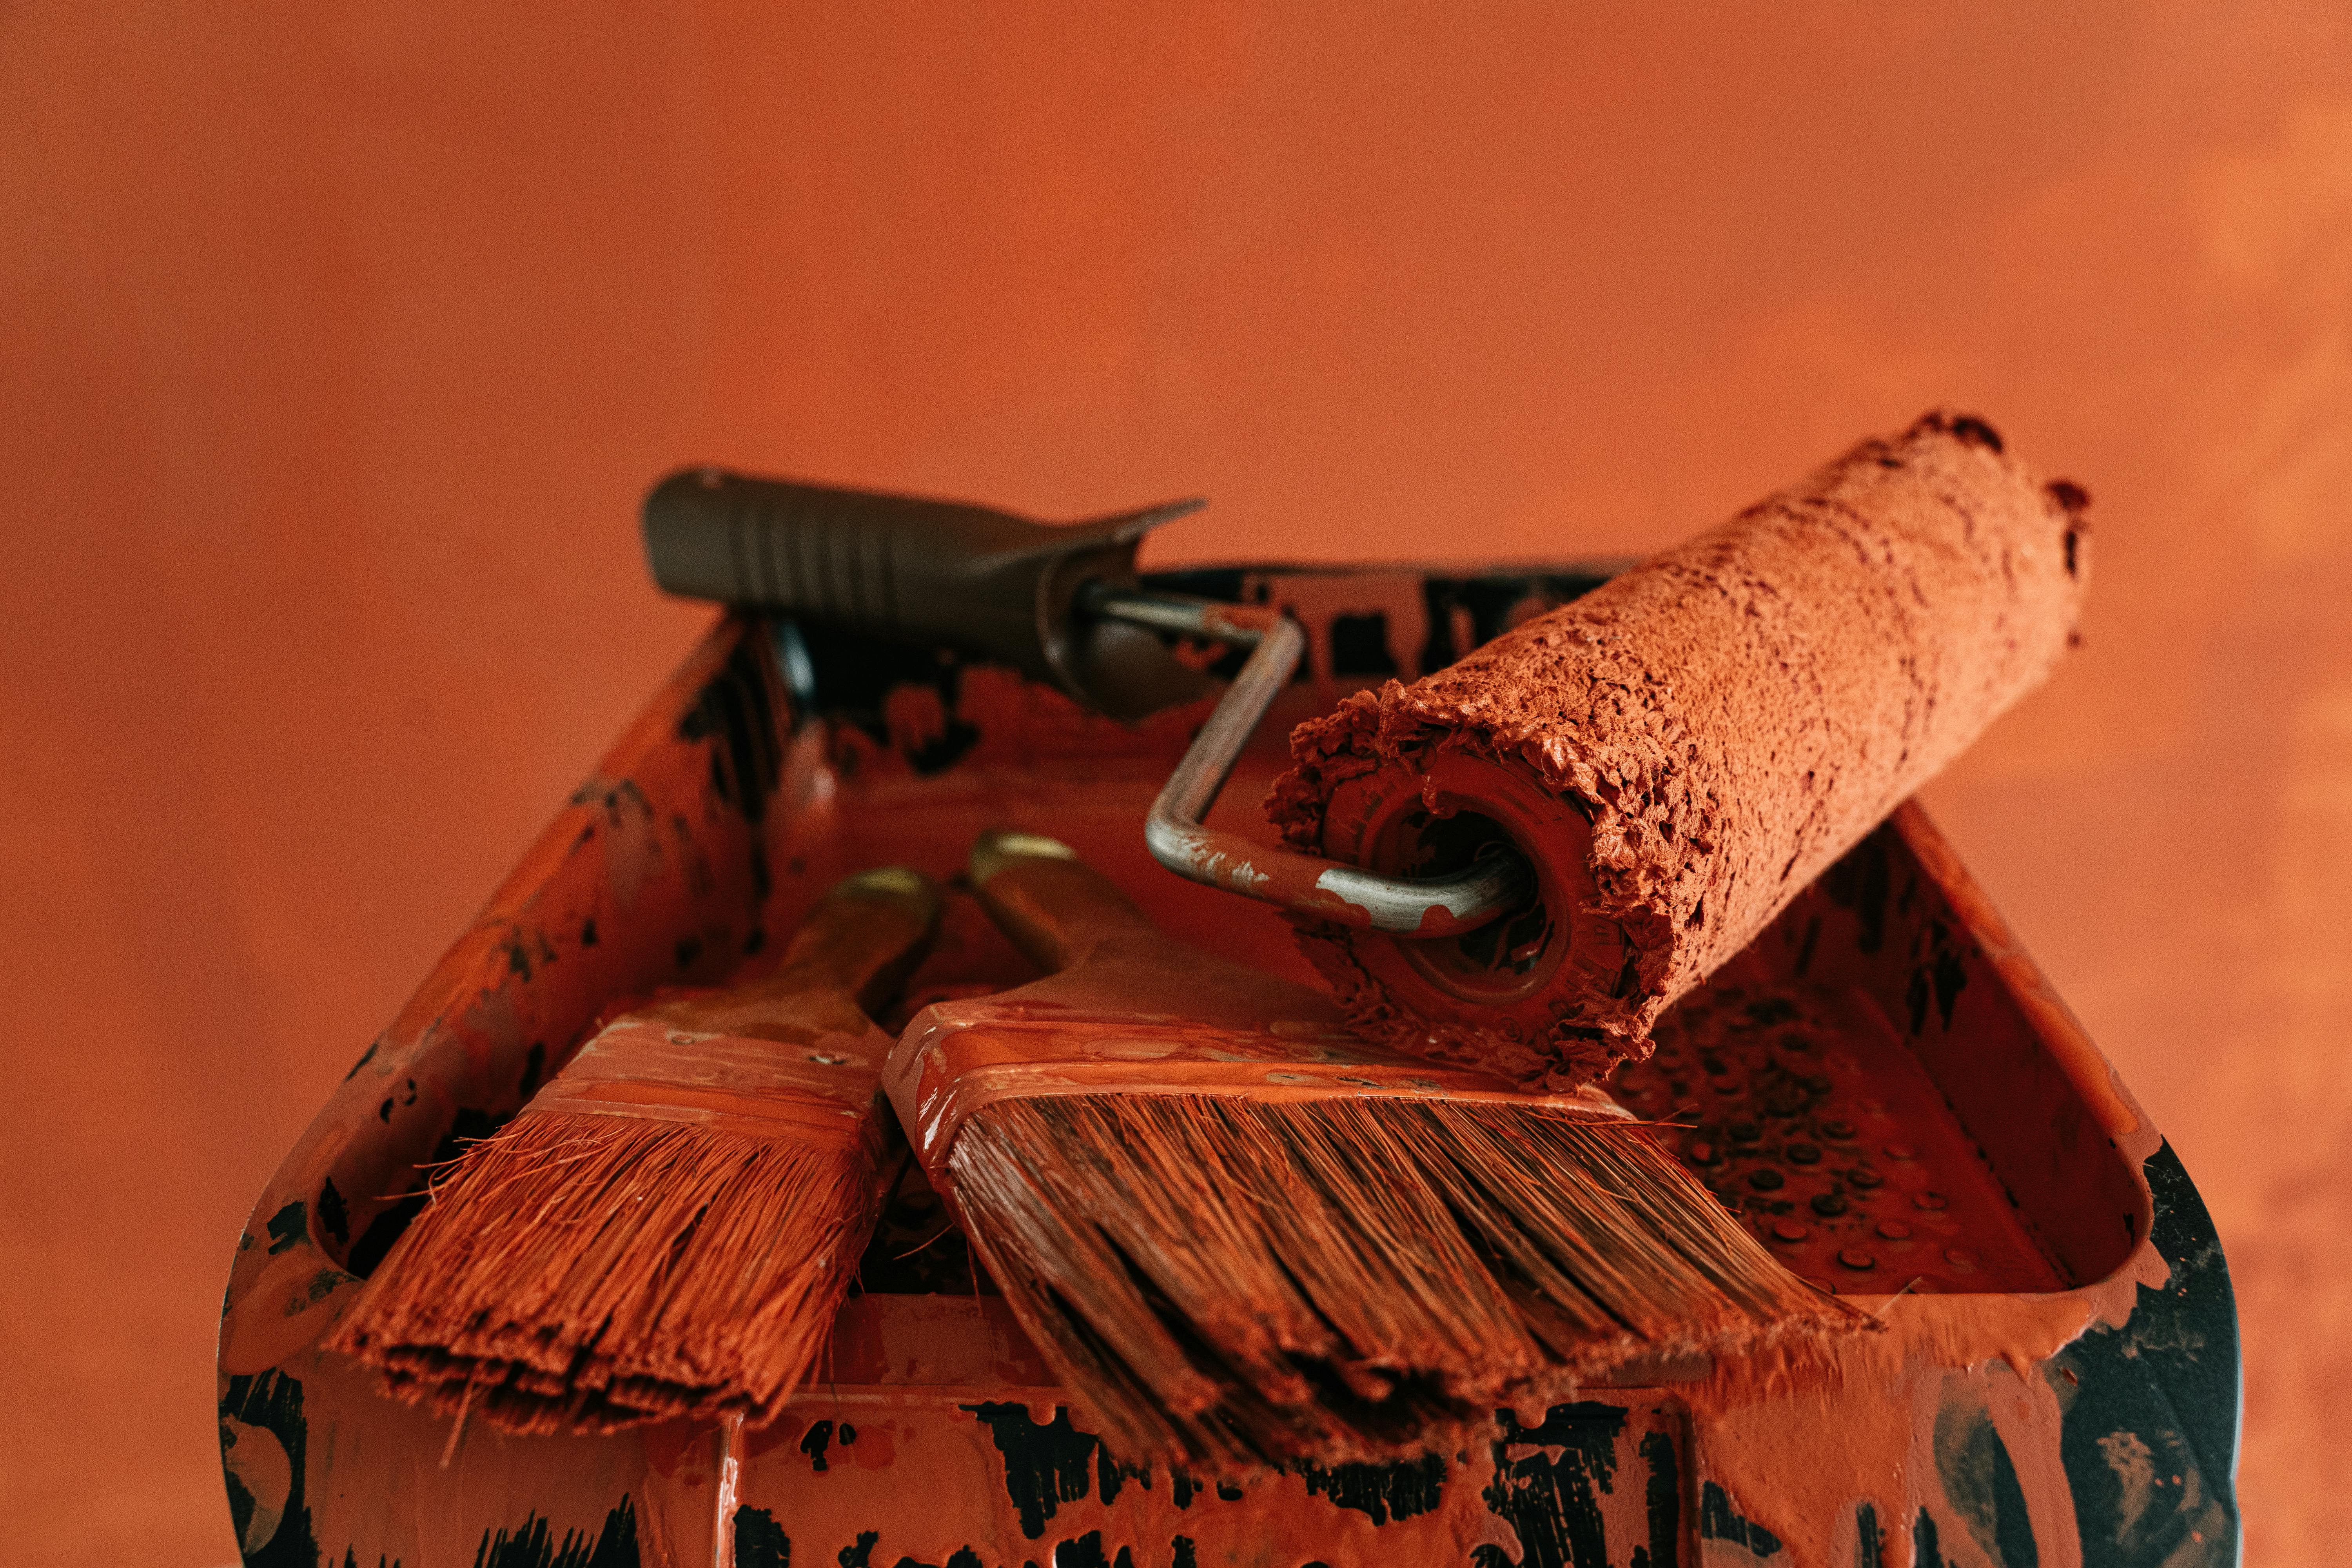
- Paint Brushes: Invest in a variety of sizes for different areas.
- Rollers and Trays: Ideal for covering large surfaces quickly.
- Painter's Tape: Crucial for clean edges and protecting trim.
- Drop Cloths: Protect your floors and furniture from splatters.
- Sandpaper: Prepares your surfaces by smoothing out imperfections.
- Primer: Ensures better paint adhesion and coverage.
- Ladder: Necessary for reaching higher areas safely.
Step-by-Step Painting Process
Step 1: Choose Your Paint
Selecting the right paint is crucial. In 2026, eco-friendly options are popular, offering low VOCs and better air quality. Choose a color that complements your home’s style. For beginners, neutral tones are a safe bet as they are forgiving of minor mistakes.
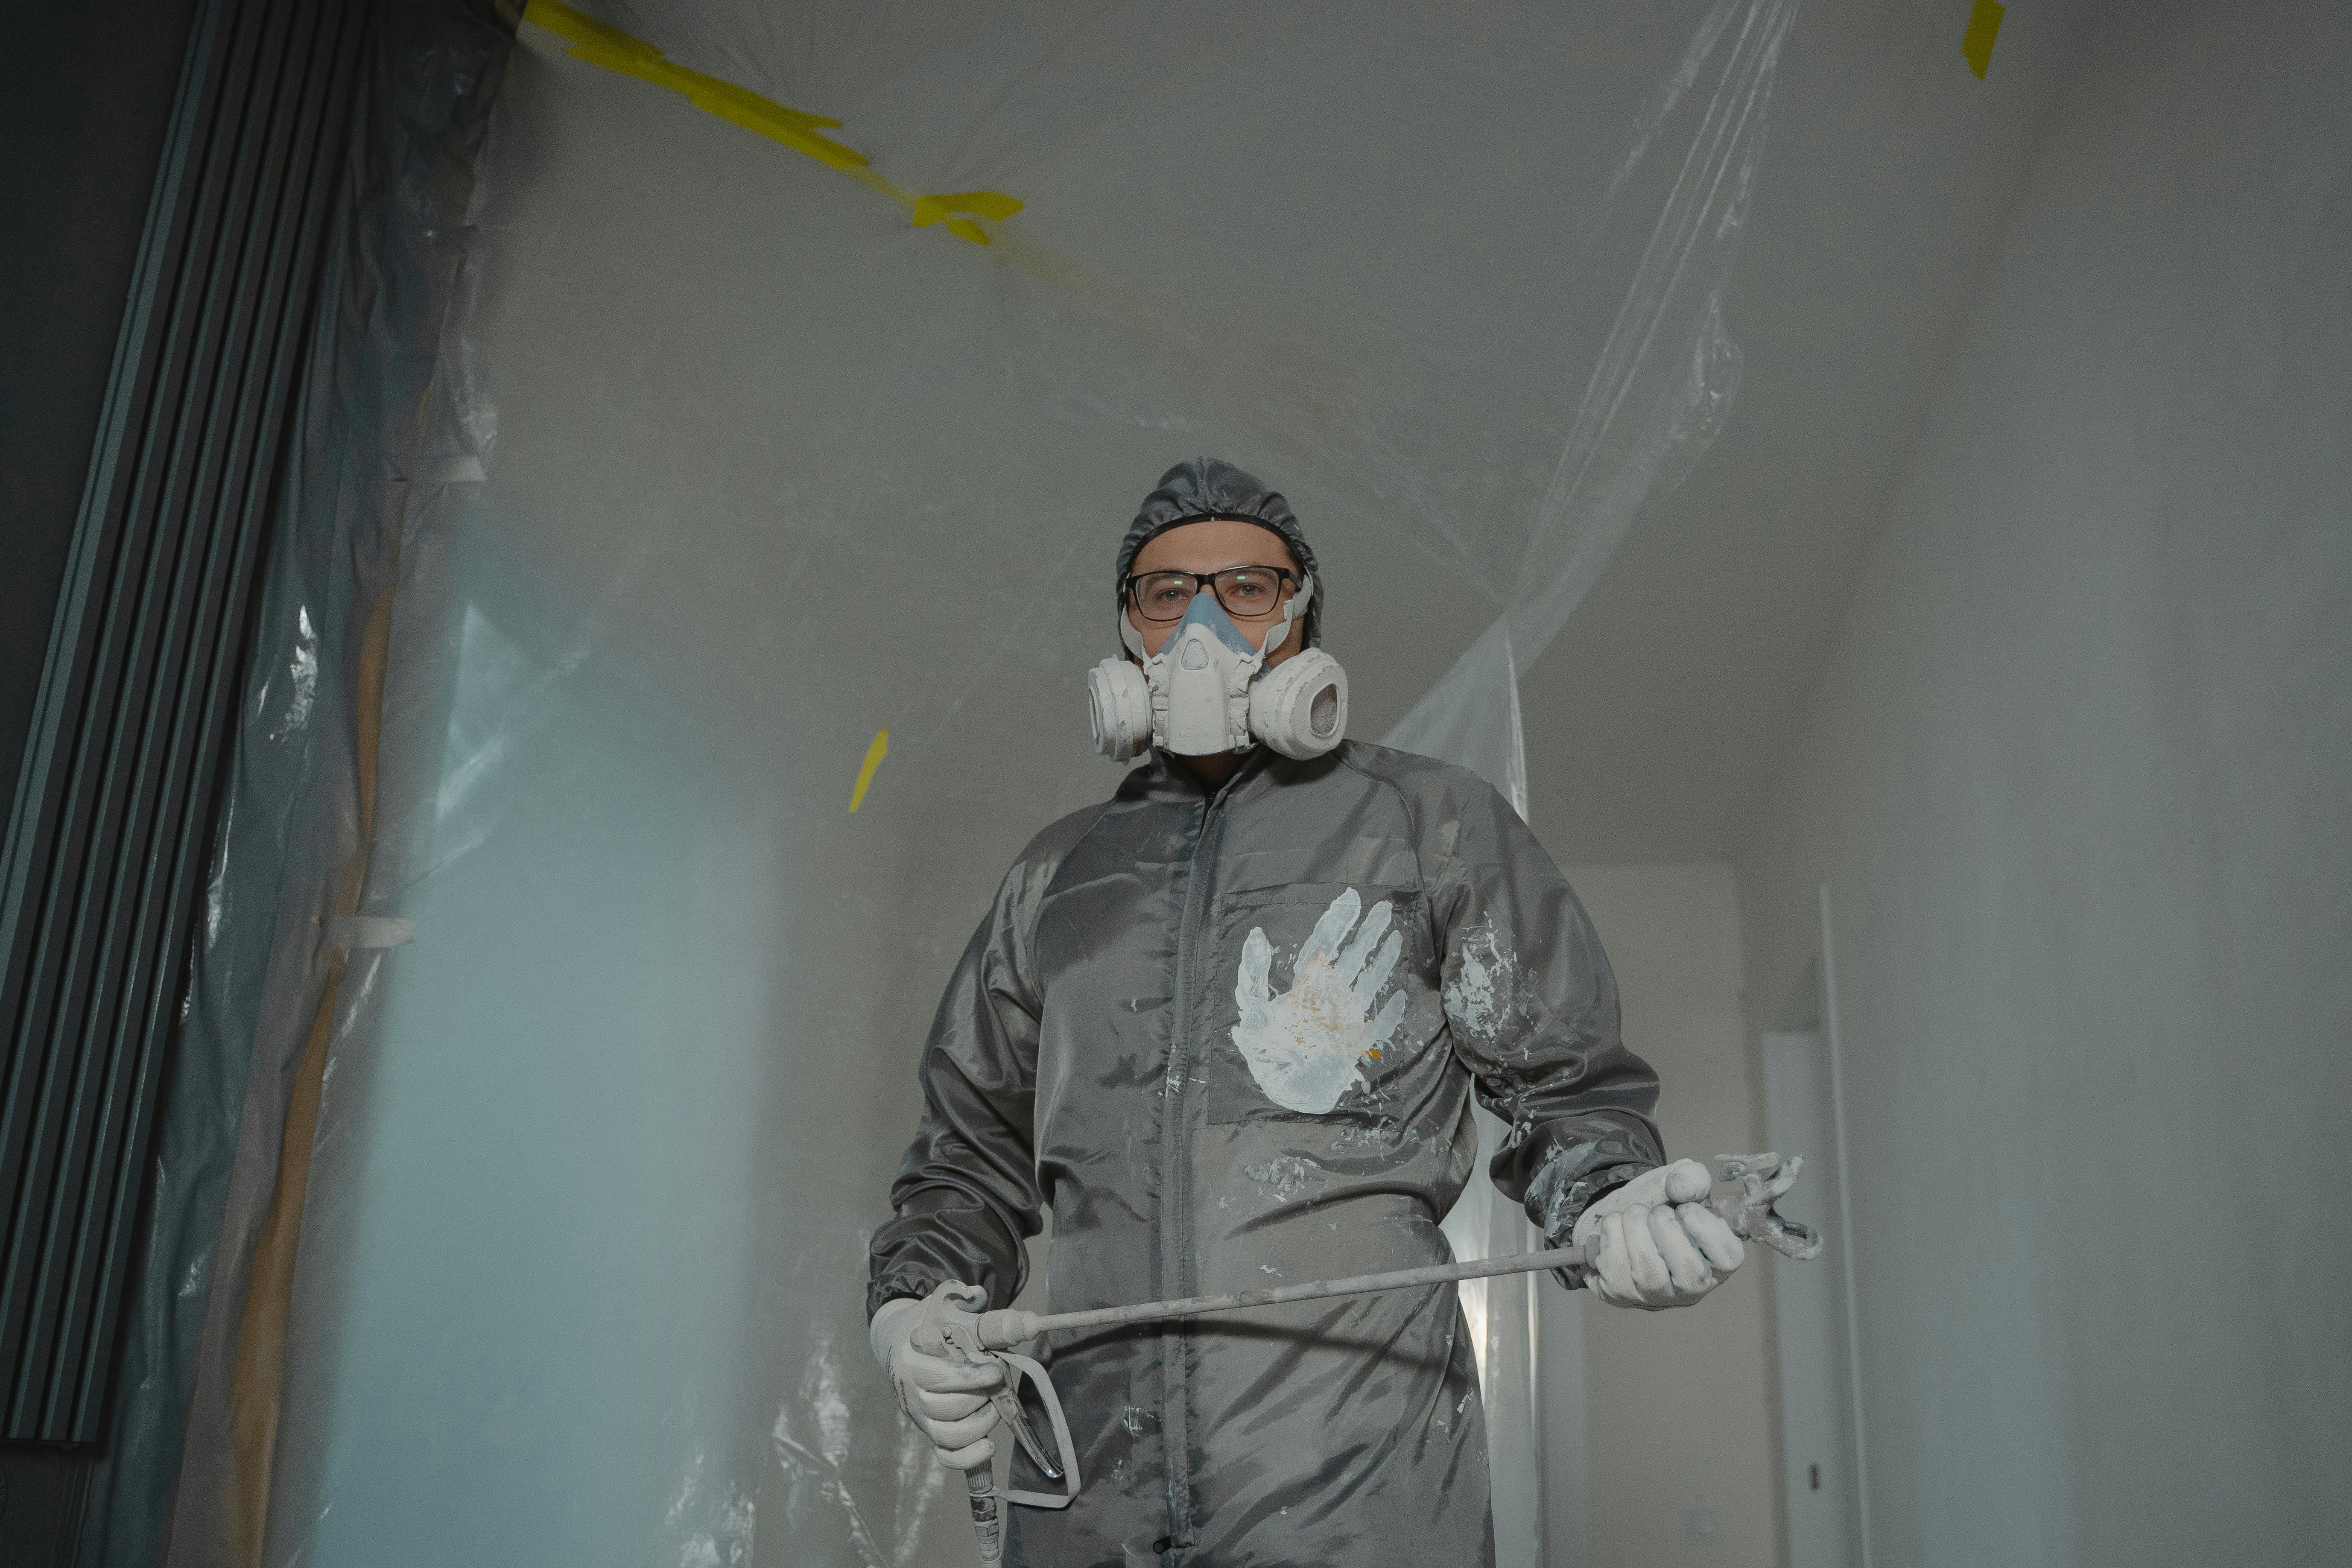
Step 2: Prepare Your Space
Preparation is key to a successful paint job. Start by removing furniture or covering it with drop cloths. Clean the walls to remove dust and grease, which can prevent paint from adhering properly. Use painter's tape to protect trim, outlets, and fixtures.
Step 3: Apply Primer
Priming is an essential step, especially if you are painting over dark colors or dealing with porous surfaces. Apply a coat of primer to ensure even color and reduce the number of paint coats needed.
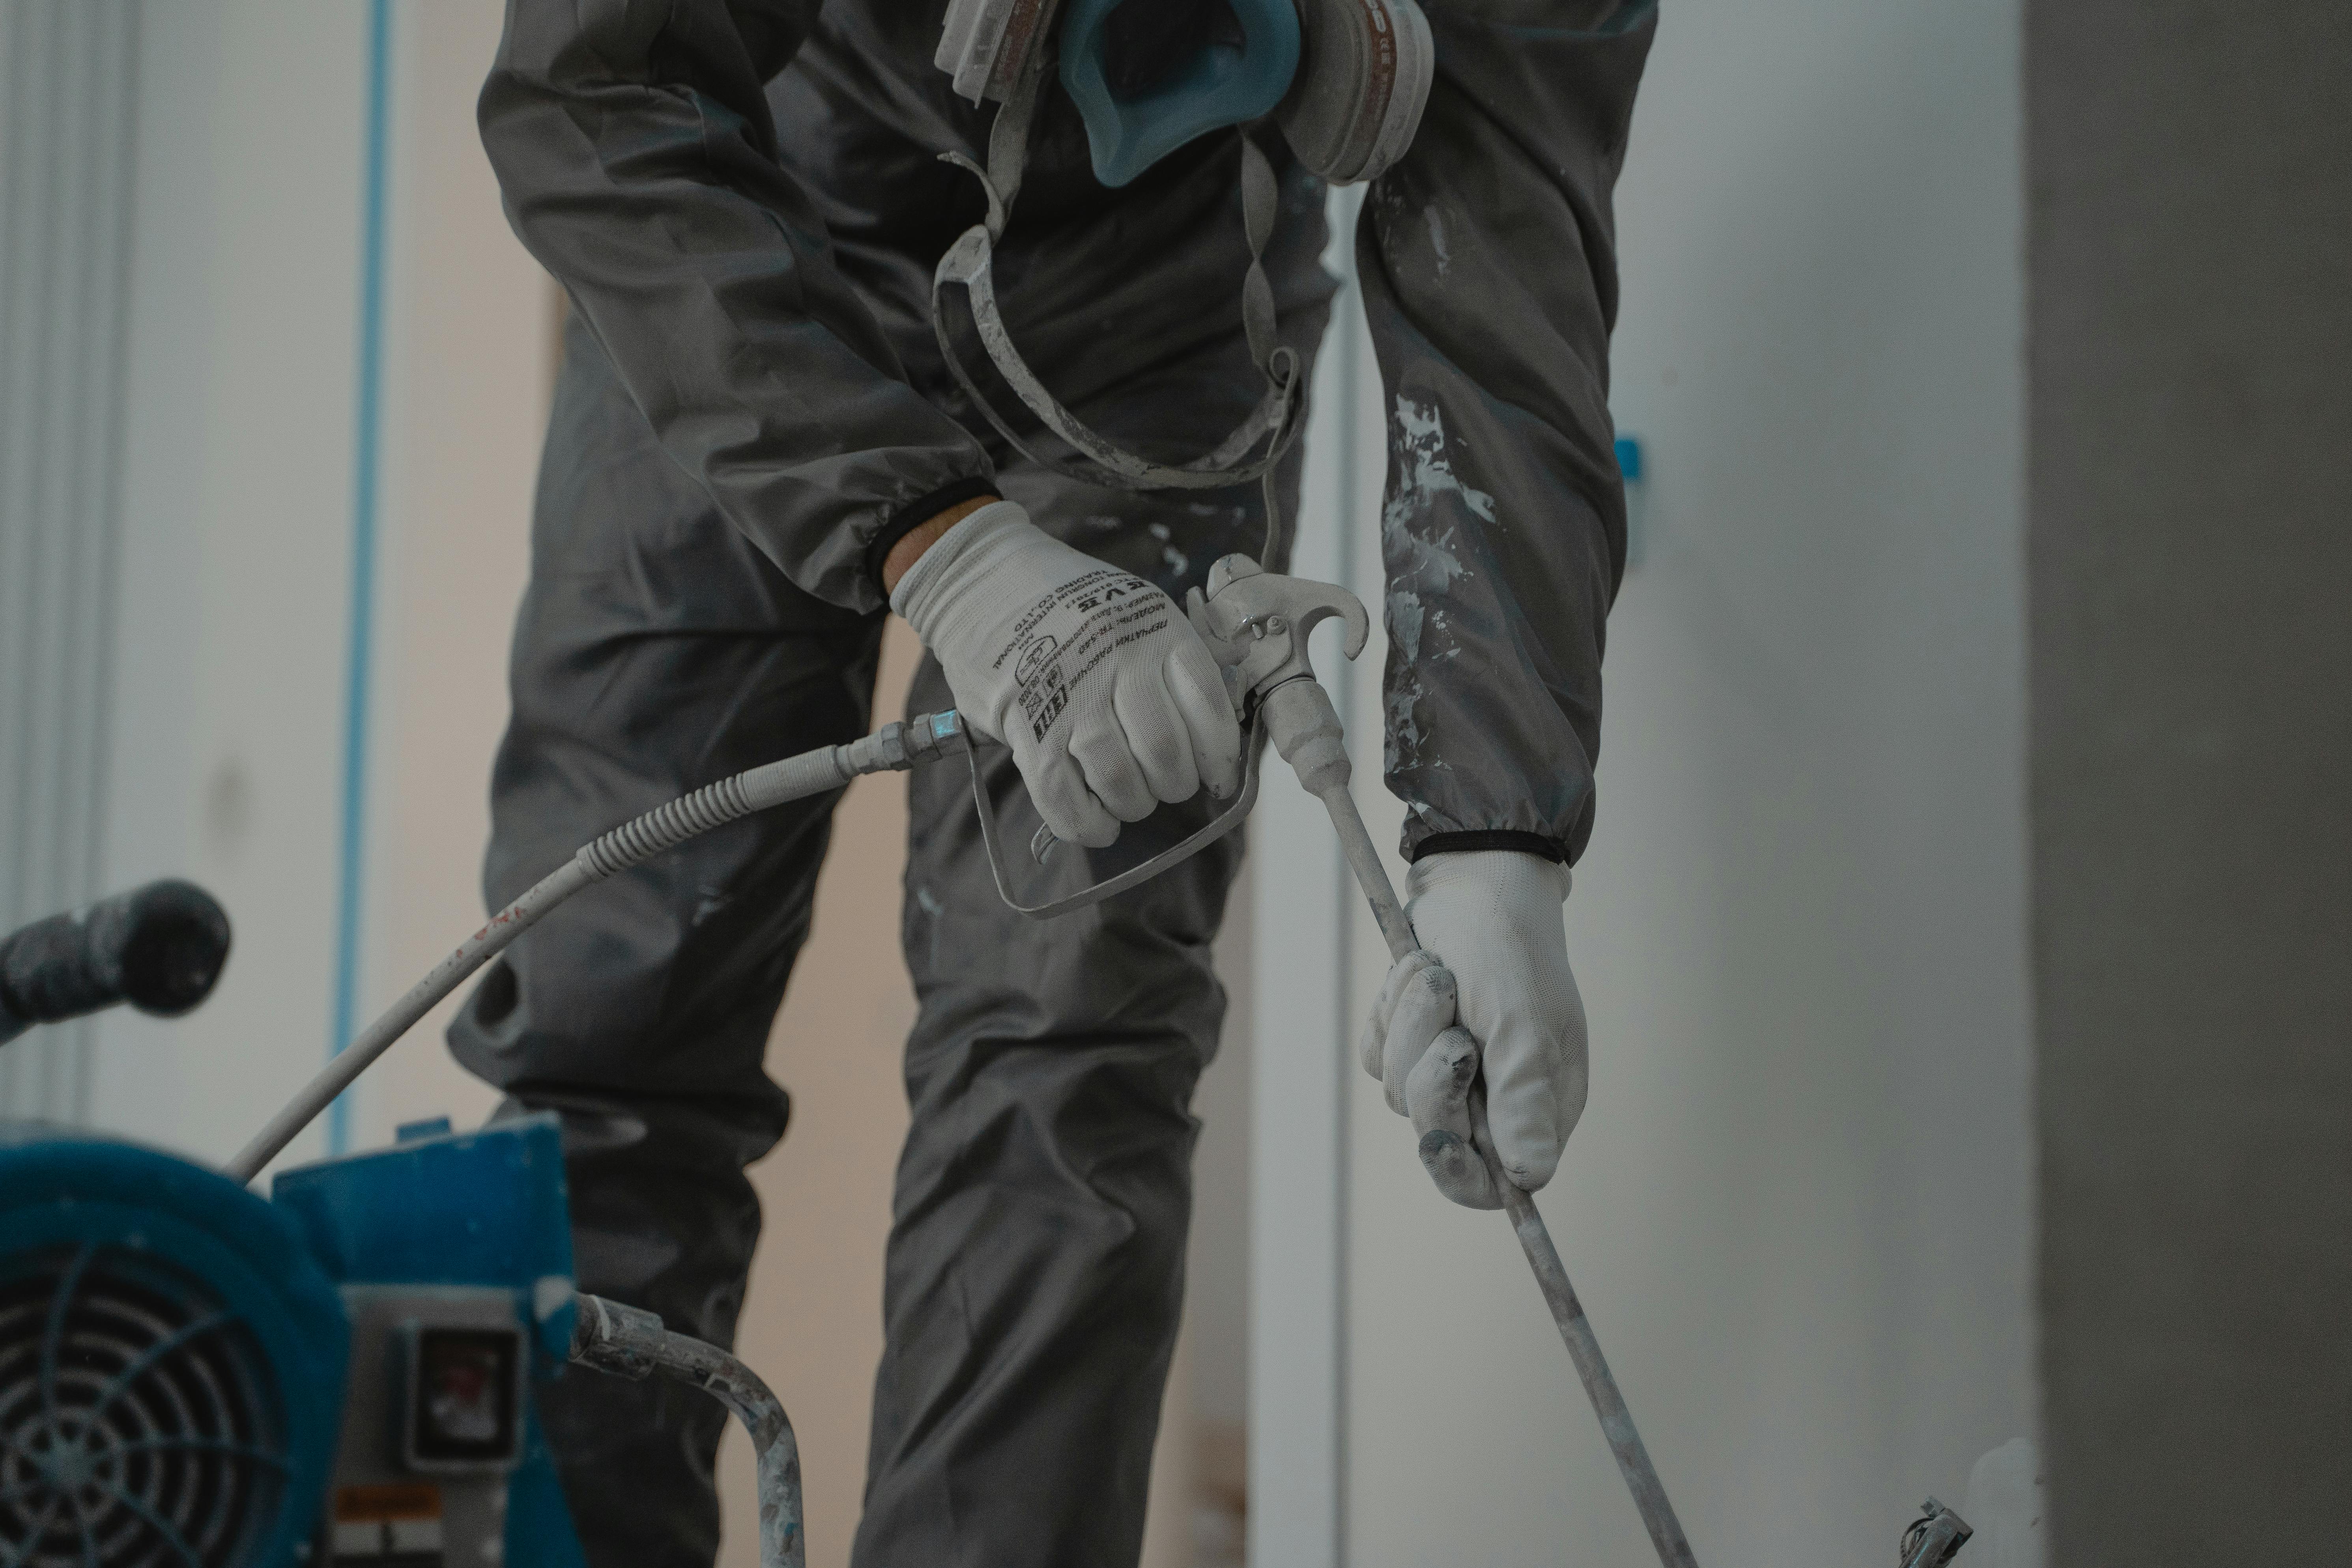
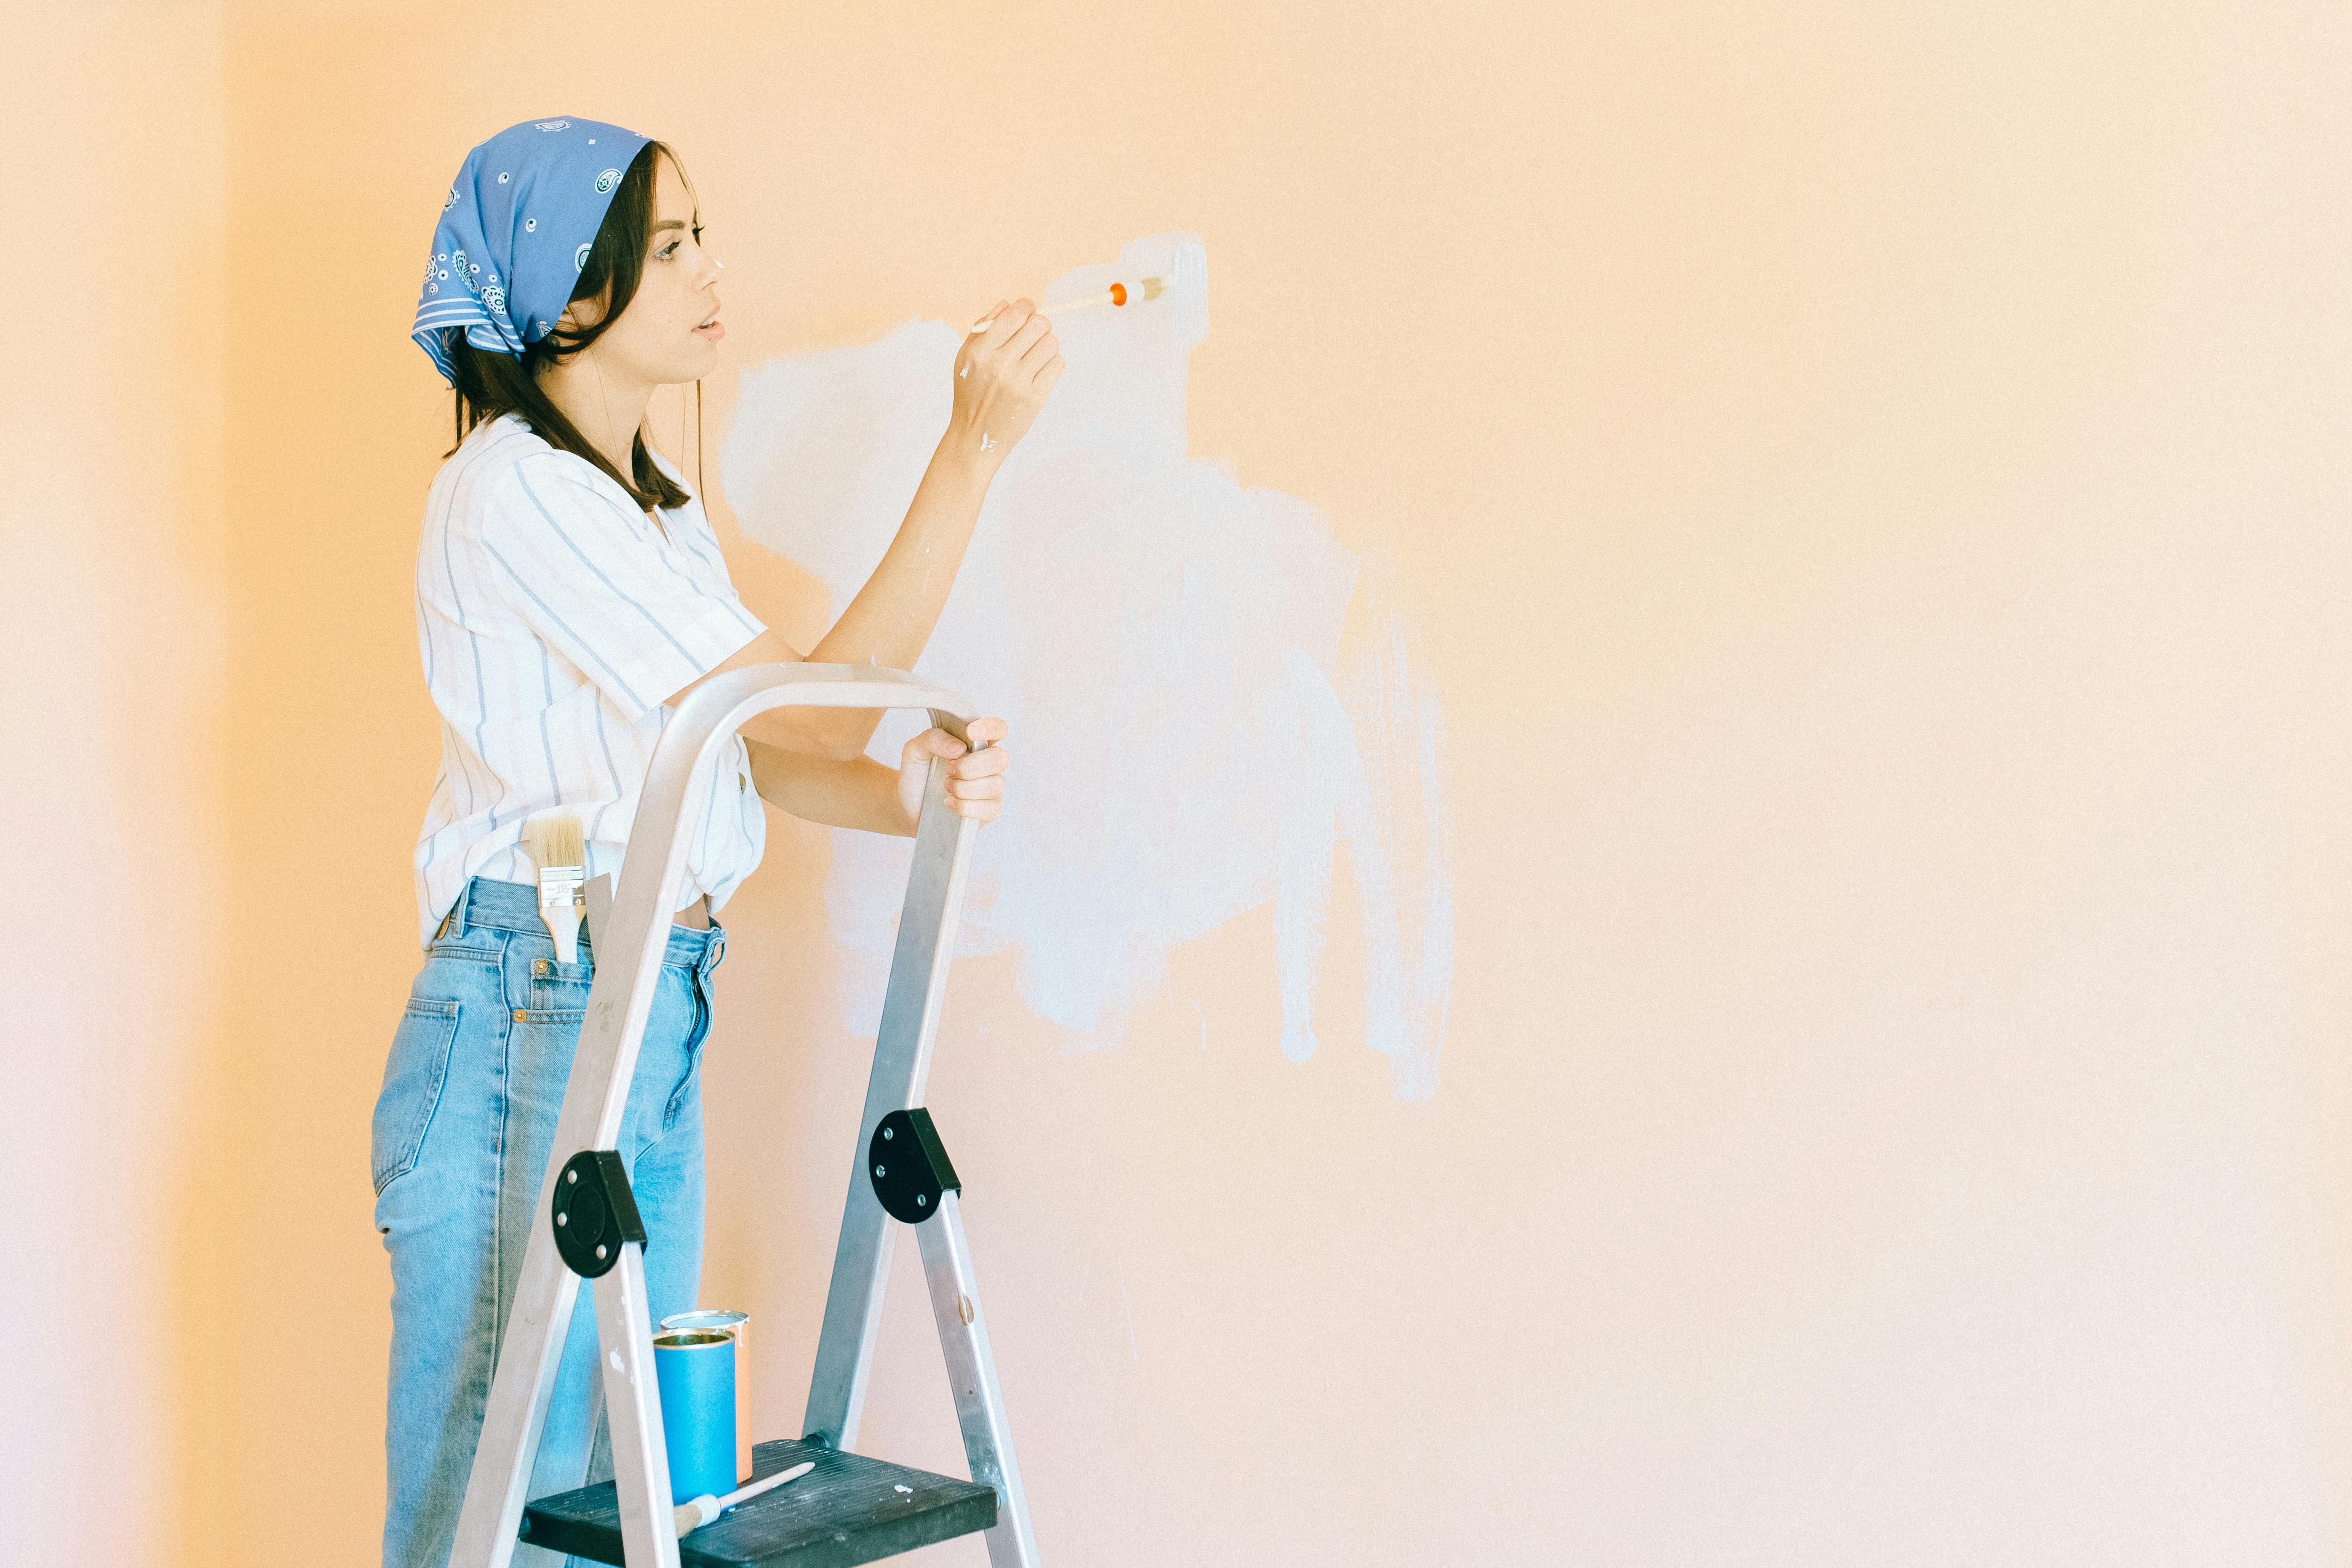
Step 4: Start Painting
Begin with the edges using a brush. This technique, known as 'cutting in,' ensures you reach areas a roller can't. Once the edges are done, use a roller for the walls. Work in sections, applying paint in a 'W' pattern to avoid streaks.
Step 5: Let It Dry
Allow the paint to dry completely before applying a second coat. In Fallon’s climate, drying times can vary, so check the product instructions. Patience here will ensure a smooth, flawless finish.
Step 6: Finish Up
Once the second coat is dry, carefully remove the painter’s tape. Touch up any areas as needed, and admire your handiwork!
Troubleshooting Common Issues
Even with careful planning, you might encounter a few hiccups. Here are some common issues and how to fix them:
- Drips and Runs: Use a brush to gently blend and smooth out the area.
- Uneven Coverage: Ensure even pressure with the roller and consider an additional coat.
- Peeling Paint: This might indicate that the surface wasn't properly prepped. Sand and clean the area before repainting.
Conclusion: Your Path to Painting Success
By following these steps, you'll transform your Fallon home into a vibrant space that reflects your personality and style. Remember, practice makes perfect, and each project will enhance your skills. For more complex tasks or professional touch-ups, Oasis Painting and Handyman is always here to assist, ensuring your home looks its best in every season.
If you found this guide helpful, check out our other resources and blogs for more tips and tricks on home improvement projects in Fallon, NV.